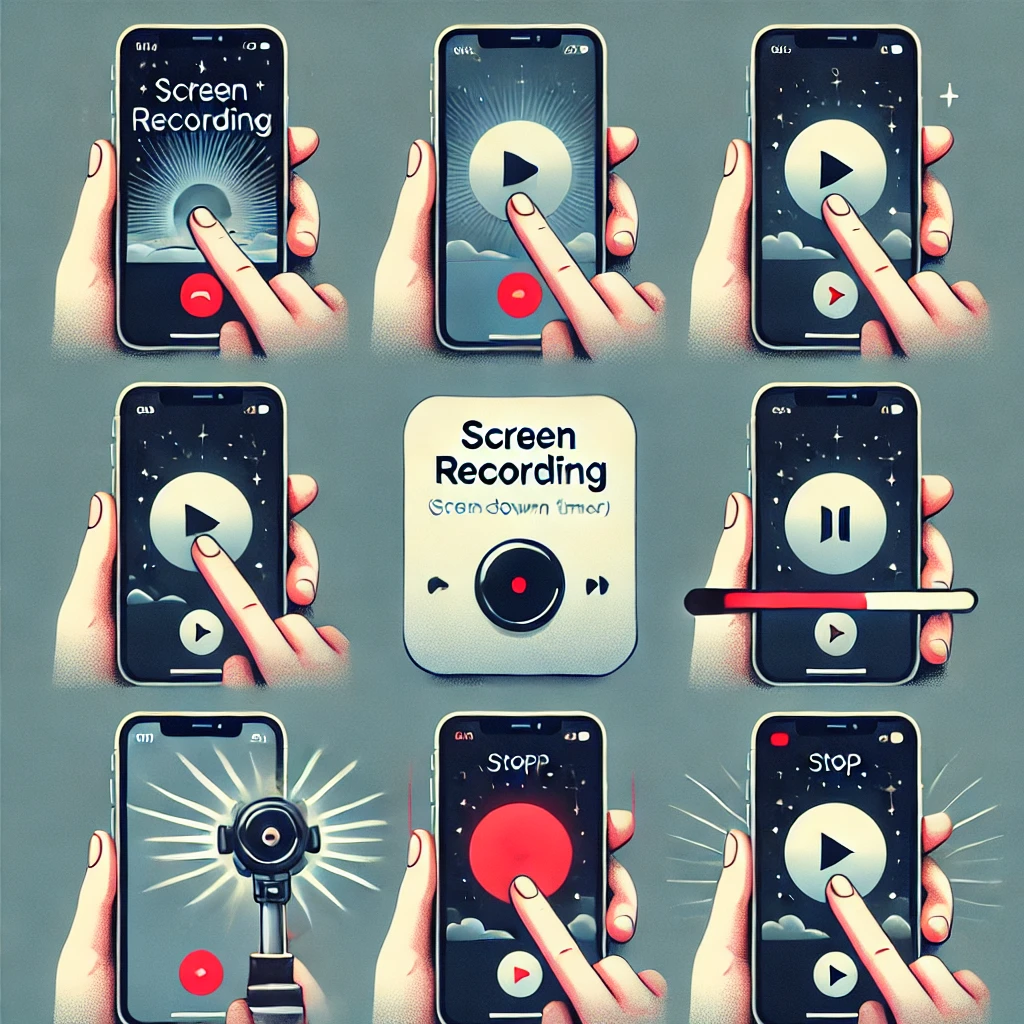
How to Screen Record on iPhone: A Step-by-Step Guide
Doing screen record on iPhone can be very beneficial for you and it is also very useful. It captures whatever is on your screen and provides the facility to save it in the gallery. Like if you are sharing your gameplay, fixing a technical issue, or providing any education, or doing some interesting work, this feature makes your work very easy.

If you are interested in how to do screen record on iPhone then this post can guide you step by step and give you a little information. After reading this post you can use screen recording for any purpose.
Why Use Screen Record on iPhone?
Screen record on iPhone can be useful to you in many ways. Here are some tutorials which can help you.
Tutorials: Share step-by-step instructions for apps or settings with friends or family.
Troubleshooting: Record issues on your iPhone to share with tech support.
Sharing Gameplay: Show off achievements or walkthroughs in mobile games.
Saving Memories: Capture unique moments on social media apps or video calls.
Presentation Prep: Create visuals or demos for work or school.
Setting Up Screen Recording on iphone
Enable Screen Recording in Control Center
Before starting screen recording, check whether it is in your control center or not.
• Open Settings: Navigate to the “Settings” app on your iPhone.
• Tap on Control Center: This is where you manage shortcuts for various tools.
• Customize Controls: Scroll down to find the “Screen Recording” option.
• Add to Control Center: Tap the green plus (+) icon next to “Screen Recording.” This will move it to the “Included Controls” section, making it accessible via your Control Center.
Now, you’re ready to start screen record on iPhone anytime with just a swipe!
How to Start Screen Recording
Once the feature is enabled, follow the simple steps to record your screen:
Access Control Center:
• For iPhones with Face ID: Swipe down from the top-right corner of the screen.
• For iPhones with a Home Button: Swipe up from the bottom of the screen.
Start Recording:
° Tap the circular “Screen Recording” button
There will be a 3 second countdown on your screen before the recording starts. And after it starts, a red icon will appear indicating that your screen record on iPhone has started.
Record Audio (Optional):
• Press and hold the ” screen recording ” button to include audio.
• Tap the “microphone icon” to enable audio recording (it turns red when on).
• This is especially useful for capturing in-app sounds.
• Begin Your Task: Once the countdown ends, proceed with the activity you want to record.
How to Stop Screen Recording
Stopping your screen recording is just as simple:
Use Control Center:
• Swipe down (or up) to open the Control Center.
• Tap the red “Screen Recording” button to stop.
Tap the Red Status Bar:
• If you have a red status bar at the top of your iPhone, tap it
• A prompt will appear asking you for permission to stop your screen recording, tap on it
Check Your Recording:
Once the recording stops, it will be automatically saved to your gallery.
Where to Find and Edit Your Recordings
Your recordings are stored in the Gallery app, where you can view, edit, and share them:
Locate Your Video: Open the Photos app and navigate to the “Recents” album (or “Screen Recordings” if you have it).
Edit Your Recording:
• Tap “Edit” to trim unwanted sections.
• Use the sliders to adjust the start and end points.
• Save the edited version or keep the original version
Share or Save:
Use the Share button to send your video via messages, email, social media, or cloud storage.
Tips for a Better Screen Recording Experience
Frequently Asked Questions
Q1: Can I screen record phone calls or FaceTime?
Due to privacy regulations, the iPhone doesn’t allow you to record both sides of a phone call or FaceTime audio by default. However, you can record your screen during a FaceTime video, but only your microphone input will be captured.
Q2: Why is my screen recording not saving?
This usually happens if your iPhone is low on storage. Check your available space in the Settings > General > iPhone Storage section. Clear some space if needed.
Q3: Can I record in higher resolution?
Screen recordings are automatically captured at the highest resolution supported by your iPhone’s display. If quality seems low, check your playback settings or ensure no external factors (like low battery mode) are affecting performance.
Q4: Can I record with third-party apps?
Yes, apps like TechSmith Capture or DU Recorder offer advanced features like annotations or live streaming. However, the built-in iPhone recorder is sufficient for most users.
Conclusion
Screen recording on your iPhone is a powerful and user-friendly tool. With just a few taps, you can capture, edit, and share what’s happening on your screen. Whether for personal use, work, or entertainment, this feature simplifies how you share ideas and solve problems.

